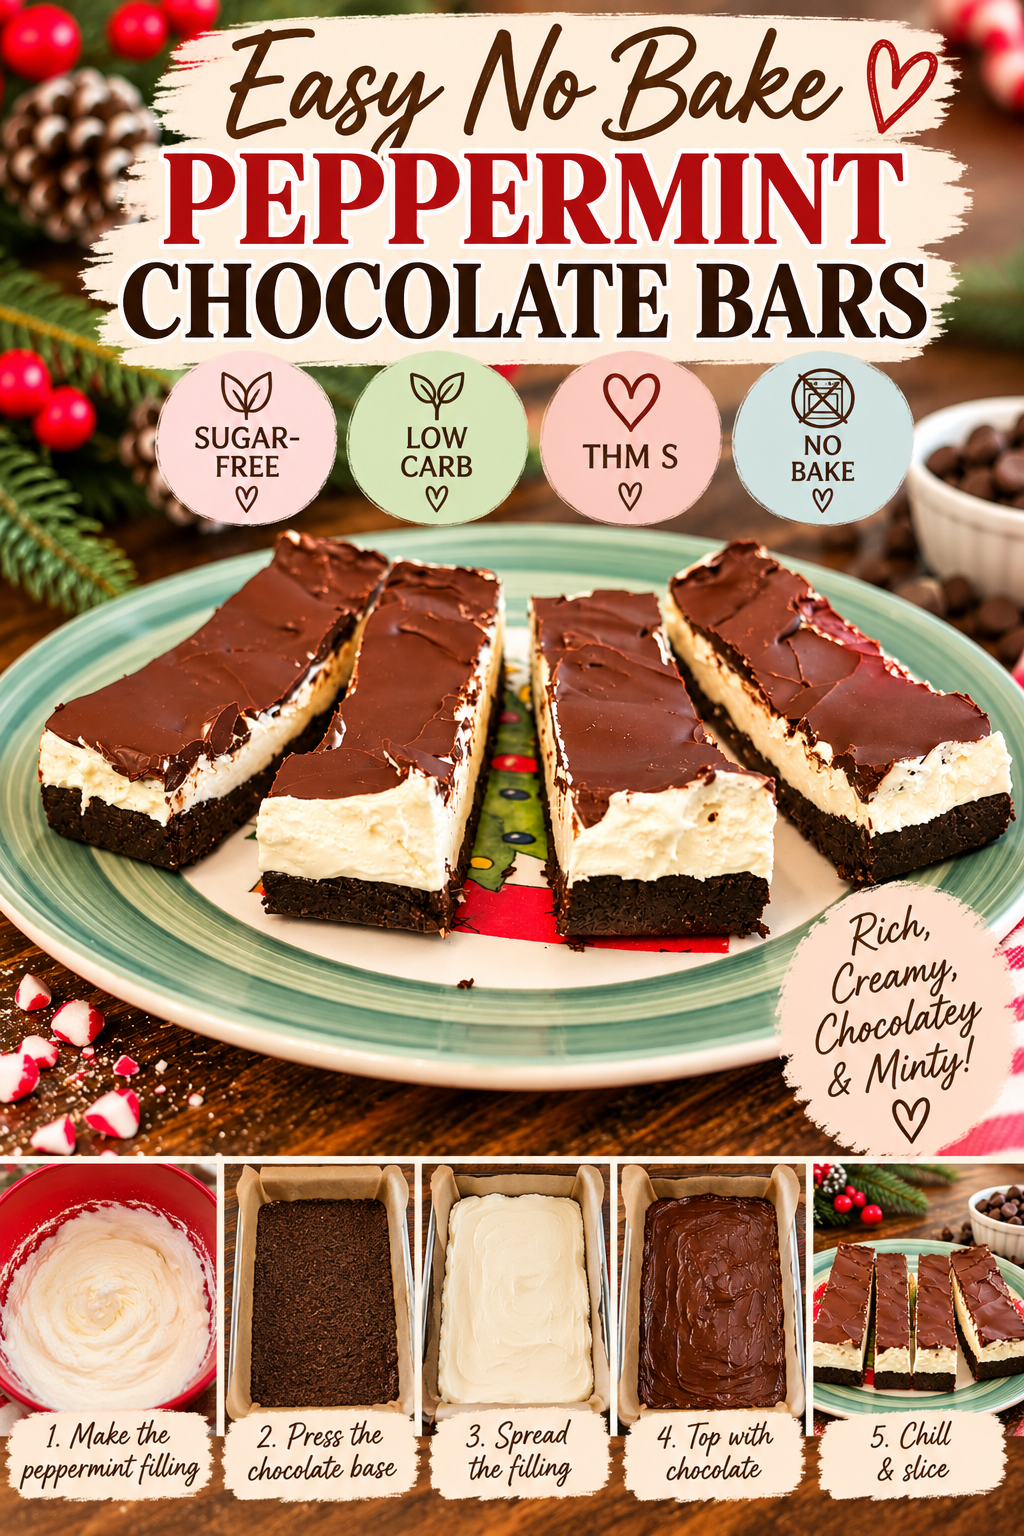
No-Bake Chocolate Peppermint Cheesecake Bars (Low Carb & Sugar Free)
If you love chocolate and peppermint together, you’re going to love these No-Bake Chocolate Peppermint Cheesecake Bars! We’re talking a rich chocolate brownie-style base, a creamy peppermint cheesecake filling, and a delicious chocolate topping.
And the best part? No oven required!
These little treats have three delicious layers, and they’re perfect for Christmas dessert trays, holiday gatherings, or whenever you’re craving that chocolate peppermint combination.
They’re also sugar-free, low carb, and Trim Healthy Mama S friendly!
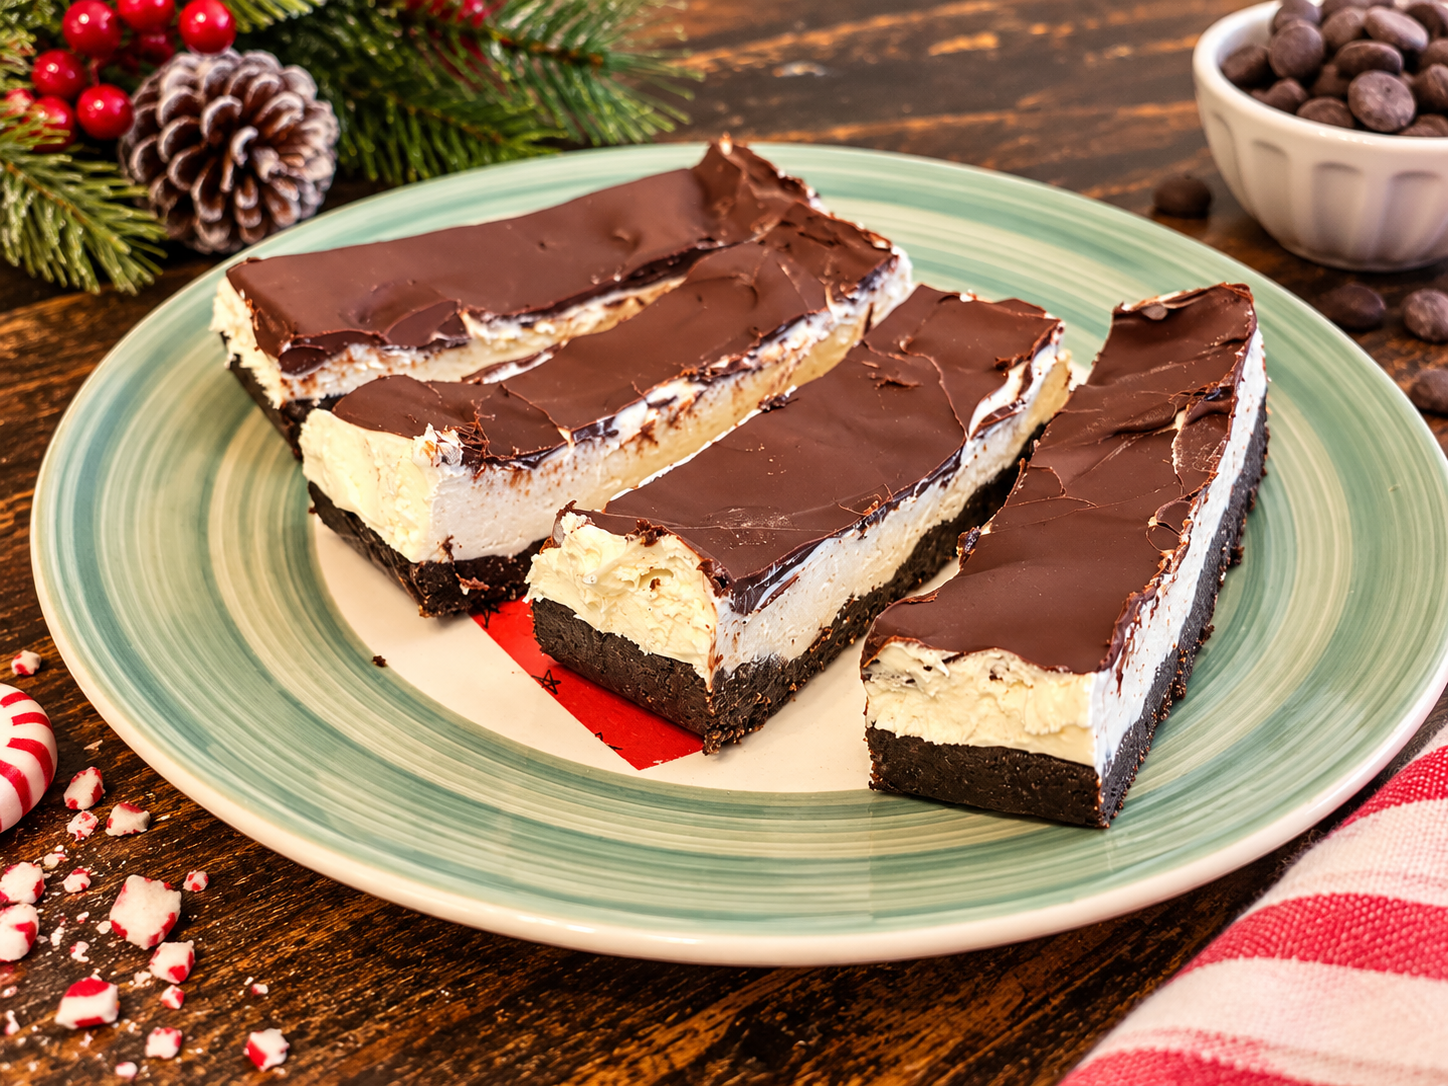
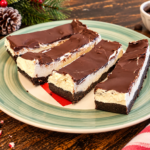
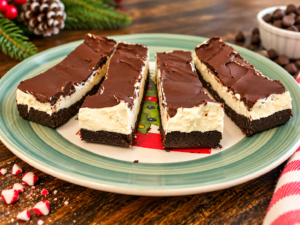
I decided to cut mine into little sticks instead of traditional squares, and I really like how you can see all three layers. They’re such a pretty addition to a holiday dessert platter!
Why You’ll Love These No-Bake Chocolate Peppermint Cheesecake Bars
There are so many reasons to make these for the holidays!
-
No baking required: Perfect when your oven is already busy with holiday cooking.
-
Three delicious layers: Chocolate brownie-style base, creamy peppermint cheesecake, and chocolate topping.
-
Sugar-free and low carb: A delicious dessert without traditional sugar or flour.
-
Trim Healthy Mama friendly: These fit into an S (Satisfying) meal.
-
Perfect for holiday gatherings: The chocolate and peppermint combination is always a Christmas favorite.
-
Make ahead: Prepare them in advance and keep them refrigerated until you’re ready to serve.
-
Easy to portion: Cut them into little sticks or traditional squares.
And honestly, is there a better holiday flavor combination than chocolate and peppermint?
Three Delicious Layers of Chocolate Peppermint Goodness
One of my favorite things about these bars is that every layer adds something different.
The Chocolate Brownie Base
The bottom layer is a rich chocolate mixture made with almond flour, cocoa, and other simple ingredients.
I use a combination of raw cacao powder and black cocoa powder.
The raw cacao provides that rich chocolate flavor, while the black cocoa adds a deeper color and a darker chocolate taste.
It reminds me of the dark chocolate flavor you get in certain chocolate sandwich cookies.
You don’t need a lot of black cocoa to make a difference!
The mixture gets pressed into a parchment-lined loaf pan and chilled until firm enough to support the cheesecake layer.
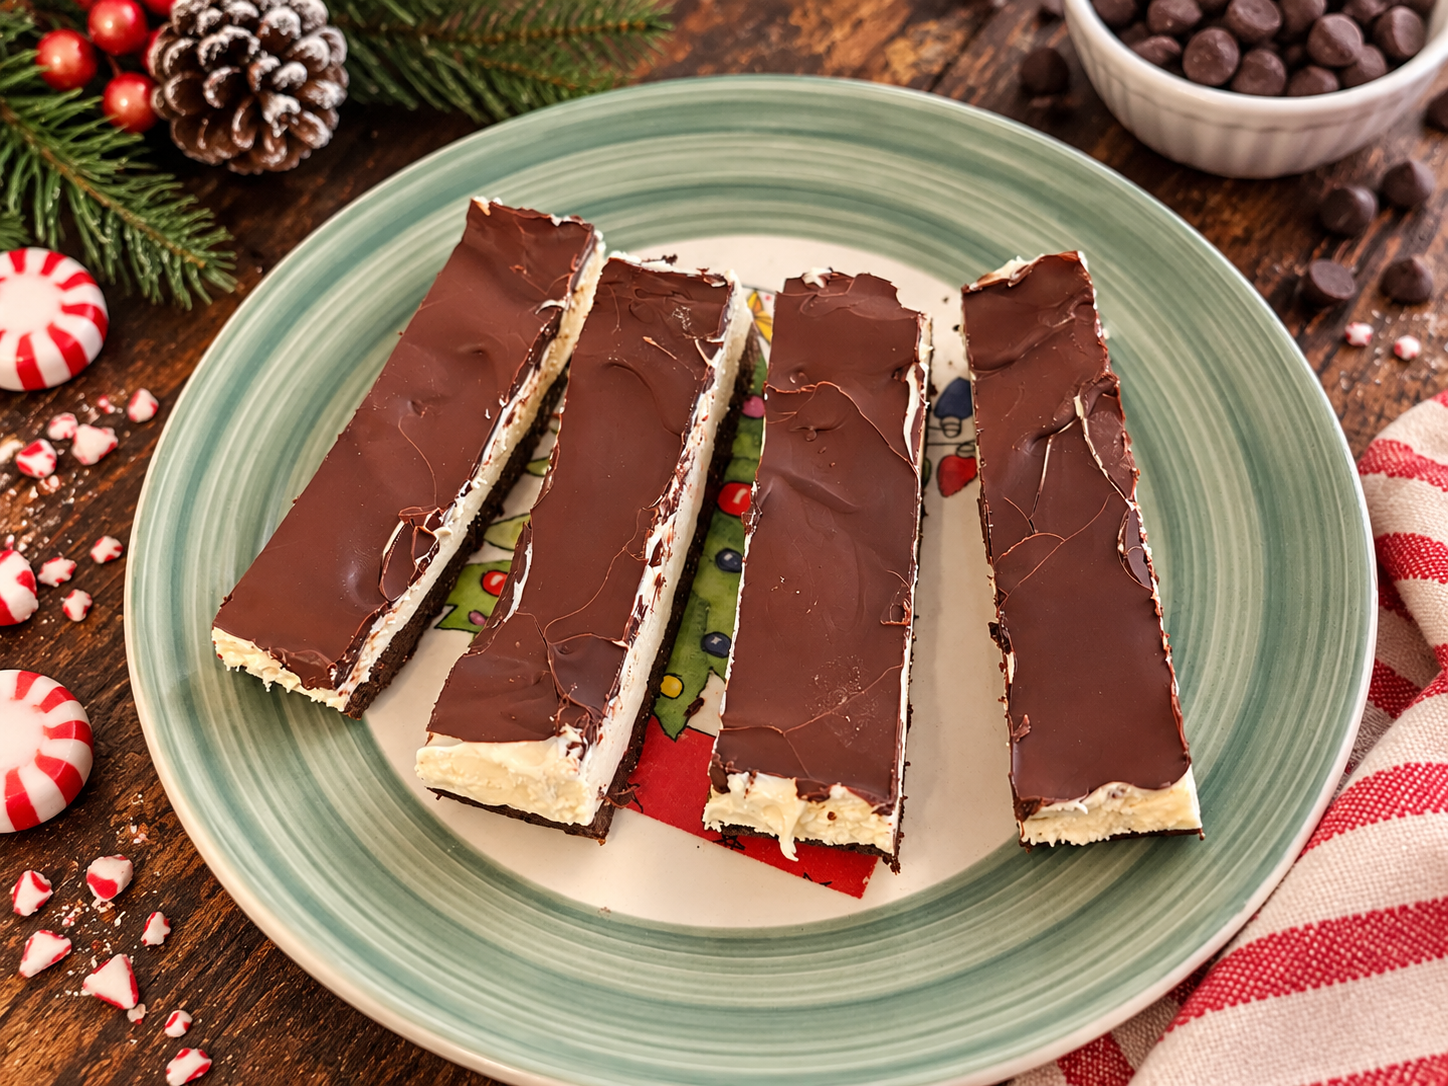
The Creamy Peppermint Cheesecake Filling
Next comes my favorite part: the peppermint cheesecake!
We’re using softened cream cheese, sweetener, and peppermint flavoring to create a smooth, creamy filling.
The cool peppermint flavor is delicious against that rich chocolate base.
One important tip: start with the peppermint extract amount listed in the recipe card and taste before adding more.
Peppermint extract is strong, and a little goes a long way.
You want a refreshing peppermint flavor without making the filling taste like toothpaste!
The Chocolate Topping
And finally, we have the chocolate topping!
This is what brings everything together.
I use melted sugar-free chocolate chips with coconut oil for a smooth chocolate topping that firms up in the refrigerator.
It’s simple, delicious, and gives these bars that extra chocolate goodness.
I recommend letting the melted chocolate cool slightly before adding it to the cheesecake layer.
You don’t want hot chocolate melting your beautifully chilled filling!
Why I Use Two Different Cocoa Powders
You might be wondering why I use both raw cacao powder and black cocoa powder in this recipe.
The combination gives the brownie base a deeper chocolate flavor and a beautiful dark color.
Raw cacao provides the main chocolate flavor, while black cocoa gives the base a darker, almost cookie-like appearance.
I especially love that dark chocolate color against the creamy peppermint cheesecake filling.
It makes the finished bars look so pretty when you cut them!
If you’re new to black cocoa, keep in mind that it has a distinct flavor. I recommend following the amount in the recipe rather than adding extra.
Tips for Making the Best No-Bake Cheesecake Bars
These bars are pretty simple to prepare, but a few little tricks make a big difference.
Use softened cream cheese.
Cold cream cheese can leave lumps in your filling. Let it soften before mixing so you get that smooth, creamy cheesecake texture.
Line your pan with parchment paper.
Leave some parchment hanging over the edges. This makes it much easier to lift the chilled bars out of the pan.
Press the chocolate base firmly.
Use the back of a spoon or the bottom of a measuring cup to press the base evenly into the pan.
Chill between layers.
Giving the chocolate base and cheesecake filling time to firm up helps keep the layers separate.
Don’t add hot chocolate topping.
Let your melted chocolate cool slightly before spreading it over the chilled cheesecake layer.
Allow enough time for the bars to set.
These are no-bake bars, so chilling is what gives them their structure. Don’t rush the process!
How to Keep the Chocolate Topping From Cracking
Here’s something worth knowing before you make these!
When melted chocolate goes onto a cold cheesecake layer, it can firm up quickly.
And if the chocolate gets too hard, it may crack when you try to cut the bars.
One trick is to cut the chilled brownie and cheesecake layers into individual sticks or squares before adding the chocolate topping.
Then you can spread a little melted chocolate over each piece.
If you prefer to add the topping before cutting, use a sharp knife that’s been warmed in hot water and dried completely.
Wipe the knife clean between cuts for the neatest layers.
And don’t worry if your bars aren’t perfectly shaped. They’re homemade, and they’re still going to taste delicious!
Should You Cut These Into Sticks or Squares?
Either way works!
I cut mine into sticks, and I really like the way they turned out.
The narrower shape shows off those three beautiful layers, and the smaller portions are perfect for Christmas dessert trays.
You can absolutely cut yours into traditional cheesecake squares if you prefer.
The most important thing is to let the bars chill thoroughly before slicing.
Are These Chocolate Peppermint Cheesecake Bars Trim Healthy Mama Friendly?
Yes! These No-Bake Chocolate Peppermint Cheesecake Bars are a Trim Healthy Mama S (Satisfying) dessert when made with plan-friendly ingredients.
Instead of traditional flour and sugar, we’re using almond flour, sugar-free sweeteners, and sugar-free chocolate chips.
The cream cheese provides that rich cheesecake texture, while the chocolate and peppermint give these bars all the holiday flavor.
Because these are an S dessert, they contain satisfying fats from ingredients like almond flour, cream cheese, and coconut oil.
They’re a wonderful option when you’re looking for a special holiday treat while following Trim Healthy Mama.
As always, check your individual chocolate chips, sweeteners, and other packaged ingredients to make sure they fit your plan.
How to Store No-Bake Chocolate Peppermint Cheesecake Bars
These bars are a great make-ahead holiday dessert because they need refrigerator time to set.
Refrigerator: Store the finished bars in an airtight container in the refrigerator for up to 4 days.
Serving: I recommend keeping them chilled until you’re ready to serve. The cheesecake filling will soften as the bars sit at room temperature.
Freezer: You can also freeze the finished bars in a freezer-safe container for longer storage. Separate the layers with parchment paper and thaw in the refrigerator before serving. The cheesecake texture may change slightly after freezing.
This makes them a convenient dessert to prepare before a holiday gathering.
No-Bake Chocolate Peppermint Cheesecake Bars FAQs
Are these chocolate peppermint cheesecake bars really no-bake?
Yes!
There’s no oven required. The chocolate base and peppermint cheesecake filling are assembled in a loaf pan, then chilled until firm.
The chocolate topping is melted separately and added before the final chilling step.
Can I use regular cocoa powder instead of black cocoa?
You can substitute regular unsweetened cocoa powder, although the color and flavor will be slightly different.
Black cocoa gives the base that beautiful dark appearance and a distinctive chocolate flavor.
Can I use a different sugar-free chocolate?
Yes, but keep in mind that different sugar-free chocolate chips melt and firm up differently.
You may need to adjust the coconut oil slightly depending on the chocolate you use.
Can I make these bars ahead of time?
Absolutely!
In fact, I recommend it because they need plenty of time to chill and firm up.
Prepare them the day before your gathering and keep them refrigerated until serving.
Can I make the peppermint flavor stronger?
Yes!
Start with the amount of peppermint extract in the recipe and taste the filling.
If you want more peppermint flavor, add just a drop or two at a time.
Why is my chocolate topping cracking?
The chocolate may be too firm when you cut the bars.
Try cutting the chilled cheesecake bars before adding the chocolate topping, or use a warm, dry knife when slicing.
Can I cut these into squares instead of sticks?
Definitely!
I love the little stick shape, but traditional squares work just as well.
Can I sub THM Baking Blend for the Almond flour?
It is definitely worth trying. I would start with 1/2 cup of thm baking blend and 3/4 cup of almond flour.
More Sugar-Free Chocolate Peppermint Recipes
If you love chocolate and peppermint together, I’ve been working on a few other delicious recipes that are perfect for the holidays!
Chocolate Peppermint Mini Bundt Cakes
These little cakes are thick, fudgy, and full of chocolate peppermint flavor. They’re a delicious low-carb holiday treat!
Chocolate Peppermint Protein Muffins
If you’re looking for another way to enjoy chocolate and peppermint, be sure to try these muffins. They’re a lighter, protein-focused option that’s perfect for the holiday season.
Sugar-Free Peppermint Mocha Latte
And if you want something delicious to sip with your holiday treats, try my homemade peppermint mocha latte!
Here’s a link to the peppermint syrup that is easy to make. It stays good for a little while in the fridge.
A Delicious No-Bake Chocolate Peppermint Dessert for Christmas
If you’re looking for a beautiful holiday dessert that doesn’t require turning on the oven, these No-Bake Chocolate Peppermint Cheesecake Bars are such a fun option!
Between the rich chocolate base, creamy peppermint cheesecake filling, and chocolate topping, you get a little bit of everything in each bite.
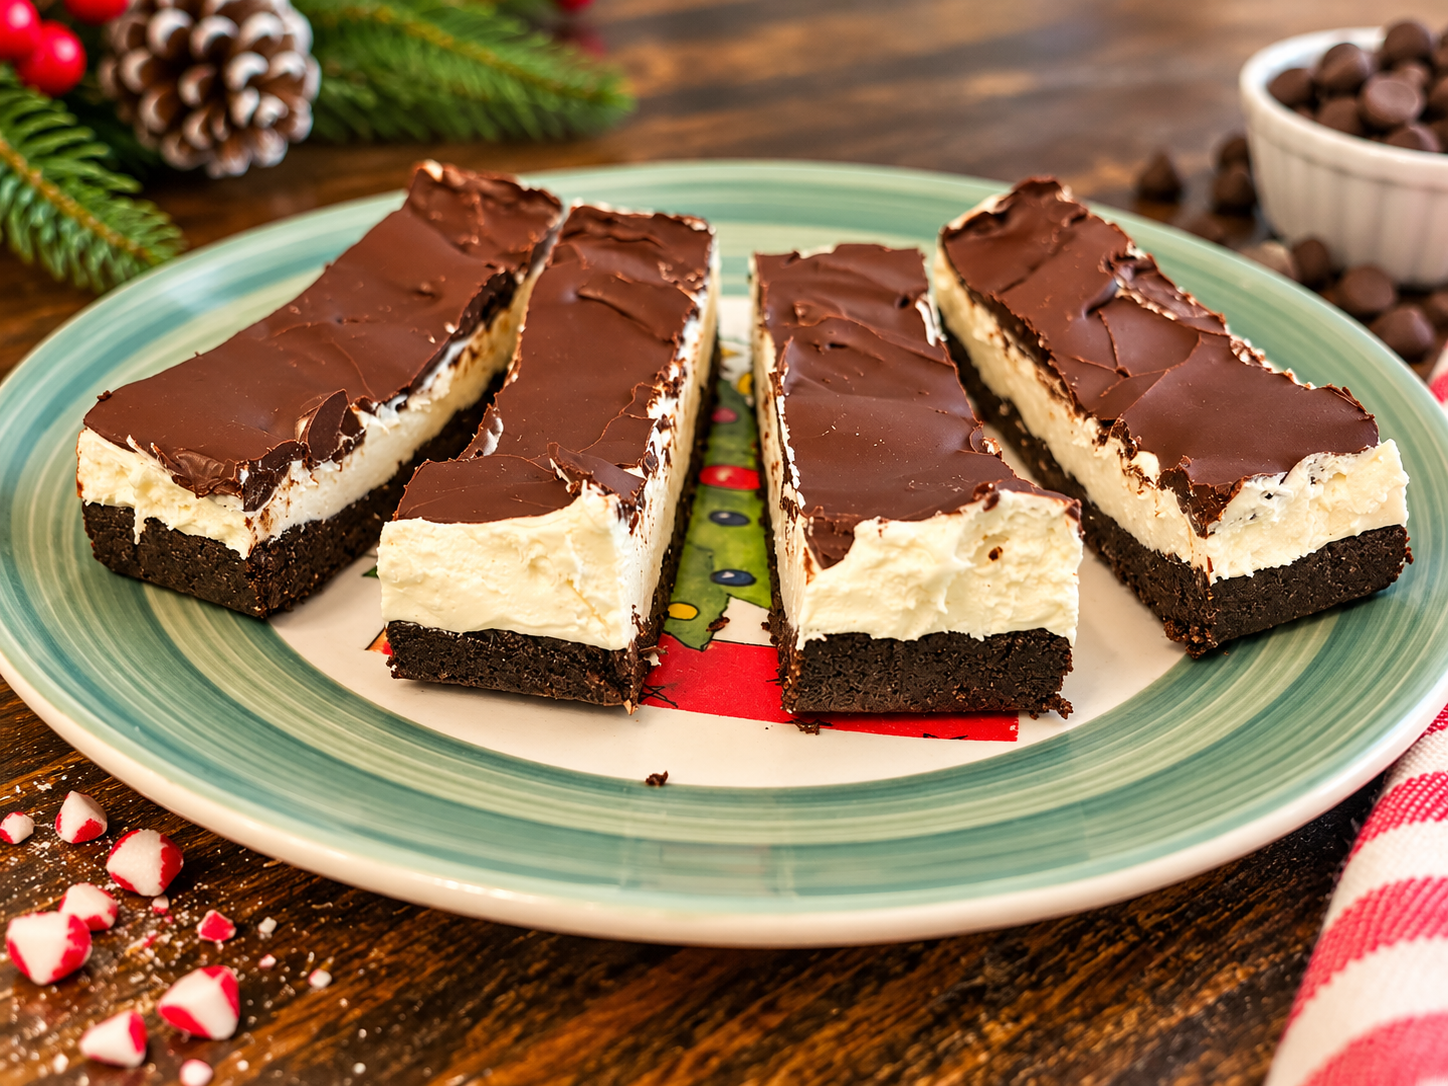
I especially love how pretty the three layers look when the bars are cut into sticks.
Make a batch for your Christmas dessert tray, holiday gathering, or just to keep a little something sweet in the refrigerator.
And don’t forget to save this recipe for your holiday baking and dessert list!
No Bake Chocolate Peppermint Cheesecake Bars (Low Carb)
Ingredients
- 1 1/2 C Almond Flour
- 1/4 C Cacao Powder
- 1+1 T+t Black Cocoa Use 1/3 C of cocoa powder if you don't have black cocoa powder
- 1 Pinch Salt
- 2 T Sugar-free Maple Syrup I used Lakonto
- Additional sweetener to taste I added at least 2 tablespoons
- 1 T Melted Coconut Oil
- 1 T Almond Milk, slightly warm
- 1/2 t Vanilla extract
- 8 oz Cream Cheese, softened
- 3 T Powdered Sweetener, taste add more if needed
- 1/4 t Peppermint extract, add more if desired Add more a drop at a time
- 1/2 t Vanilla
- 1/3 C Chocolate of choice Sugar-free chocolate chips or on plan chocolate
- 1 t Coconut Oil
Instructions
- Line the loaf pan with parchment paper, leaving enough overhang to lift the bars out. Do this first. I didn't and needed help because my hands were covered in the dough. Combine your dry ingredients in a bowl.
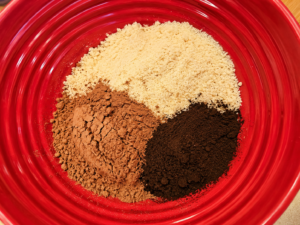
- Mix all the brownie-base ingredients until evenly combined. Taste and adjust the sweetener as needed. I used my hands to really combine Them.
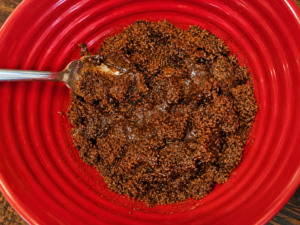
- Press firmly into the prepared pan. Freeze for **10–15 minutes** while preparing the filling. I used the sides of the parchment paper to help smash down the dough and make it as evenly as possible.
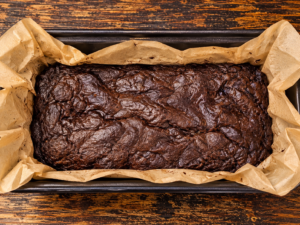
- Beat the softened cream cheese, powdered allulose, vanilla, and peppermint extract until smooth. Taste and adjust the sweetness or peppermint. Make sure the cream cheese tastes great to you. This is where most of the flavor comes from.
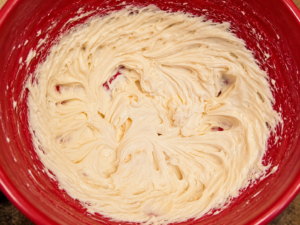
- Spread over the brownie base. Freeze for **30–45 minutes**, until the filling is firm enough to support the topping.
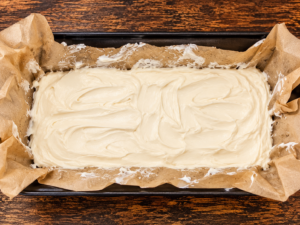
- Combine the chocolate chips and coconut oil. Microwave in **15-second intervals**, stirring between each, until melted and smooth.
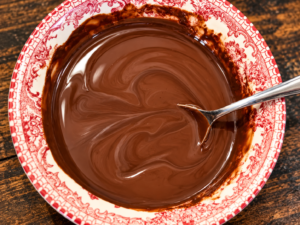
- Let the chocolate cool slightly, then spread a thin layer over the filling. See note below.
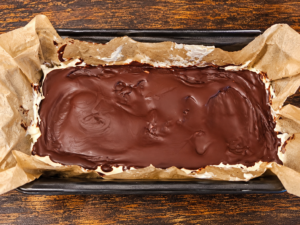
- Feel free to return to the freezer until firm. I cut mine right away. Lift out using the parchment paper.
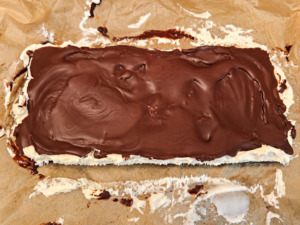
- Cut into sticks or squares with a warm, dry knife. Note: The chocolate hardens fairly quickly. If you want pretty pieces, cut first and then spread the chocolate topping on top. You can also add some sugar-free peppermint on top or even some pieces on the sides where the cream cheese layer is.

Leave a Reply